Today I have a quick and easy little Folio you can make with the newFebruary Scrapbook Kit from Tres Jolie. I have the step by step tutorial below for you but I also have a process tutorial for you here as well.
To get started you will use the49 and Market Collection with the ephemera that is inside the Scrapbooking Kit.
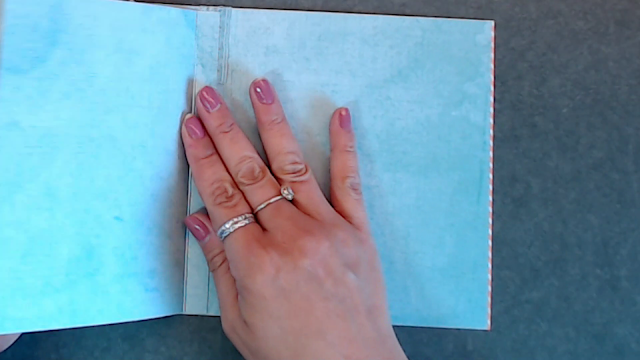
First cut you pattern paper at 6 1/2 x 11 inches. Score at 5 1/2 x 6 1/2 inches
Next cut 4 pieces of pattern paper from at 5 1/2 x 6 3/8 inches and with the 5 1/2 inch across the top of your scoreboard score 1/2 inch on all 4 pieces. Next adhere one down to the inside of the spine as shown below.
Here is one page adhered inside the folio on the spine be sure to place the fold of page to the outside of the score line.
Next you can adhere a second page the opposite of the first page on the spine so now you would have two pages. Then adhere the 3rd page to back of the cover so it will flip outward be sure to place the fold on the edge of the back page(cover).
Below you will do the same thing to inside front cover, adhere the 4th page to inside front cover adhering down the 1/2 inch tab down making sure the fold is at the edge of the front cover page.
Adhere down and burnish the page.
Now you should have 4 pages, 2 flaps - one in the front and one in back; 2 pages in the middle of your folio.
Another picture of the pages inside the folio.
After you adhere all the pages you can now decorate.
Here is a photo of the first foldout flap I decorated using the elements from thescrapbooking kit.
Once you open the flap up here is where I added a little photo mat in the middle and a tuck spot using the cut apart ticket and added a photo mat that can be taken out. I also added little tabs on the side of the pages to place in dates or names.
Next turn the page and you see a waterfall that is created on the left side of the page that is adhered to the spine. You can see more details in the Folio process tutorial.
The flap opens and you have a nice area to place a photo inside.
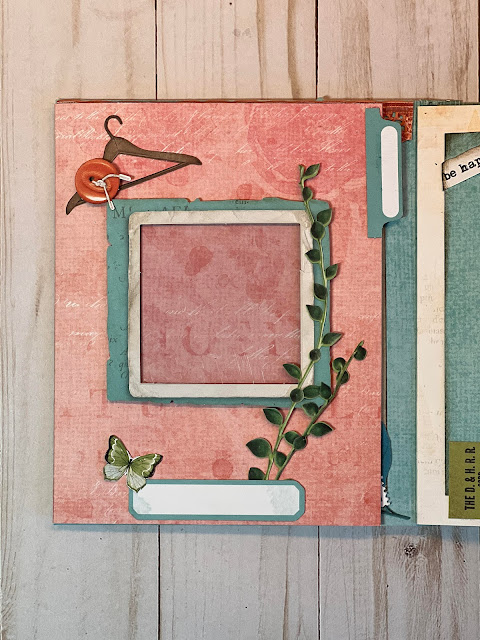
One right side of the inside page you have a large from from theScrapbook Kit paper Collect from 49 and Market.With all the frames I adhered acetate behind them and added foam tape to the back for easy access to slide in photos.
Flip the page and you have 3 panels. The left panel we created a bellie band and added some elements for journaling or photos. The middle panel is another large frame. The right side shows you a flap that we added in that open upward. I also placed one of the small frames on there and some ephemera.
This flap opens upward and I added two photo mats one on the top and one on the bottom. The flap does use a magnet.
Here is the Folio all decorated.
I hope you enjoyed this tutorial and find some inspiration to create this quick and easy folio.
All the designers will be revealing their projects on the Tres Jolie blog all month long. Make sure you join us for tons of inspiration, including video and photo tutorials. Also make sure you check out our newest chipboard designs that were just added to the store.