Next I folded back the card and traced the inside middle area that folds back.
Next cut out the piece you traced. This is going to be your template for the second piece. Place this piece you just cut out and trace on another piece of pattern paper and cut out.
Now you should have two pieced one for left and one for the right side of the card.
Next measure the middle part of the card and the middle panels of the card and cut out the pieces (as seen below). I used a pink foil paper from my stash for the middle panels.
Next I layered my pattern paper on top of the pink foil paper. I just love the flowers on this paper
they are so pretty.
Next I stamped a sentiment on the white area of the pattern paper. I really like how this on this pattern paper you have room to stamp sentiments.
Now our card is finished. Super easy and quick.

Card 2 -
I am sharing this part as it was a mishap so for this card pard please do not follow - I placed the card in my embossing folder and it tore. So I will be fixing it so we can still use this card.
So to start we are going to create a hinge for our torn card. Cut one piece of white Cardstock at 1x6 inches score at 3/8, 1/2, 5/8 inch, this gives you a nice spine for your shaker card.
Next we will adhere this to the inside of the card pieces. Cut away any extra pieces.
Next cut a 5x5 inch acetate and adhere to the inside of the open window of the card.
Next add your foam strips around the acetate window we just adhered.
Next add your shaker bits to the middle.
Next for the inside of the card I used a "Happy Birthday" die and adhered it to the inside of the card piece I'm laying down for the backing of the shaker card. I did ink it a bit so it would show up on the background and added some stickles for a nice sparkly touch. Now you can remove the backing from the foam tape.
Place your card backing on top and press and burnish down.
For some decoration around my card I added some of the pink Little Birdie flowers and a butterfly from my stash, and we are done with Card 2.
Card 3 -
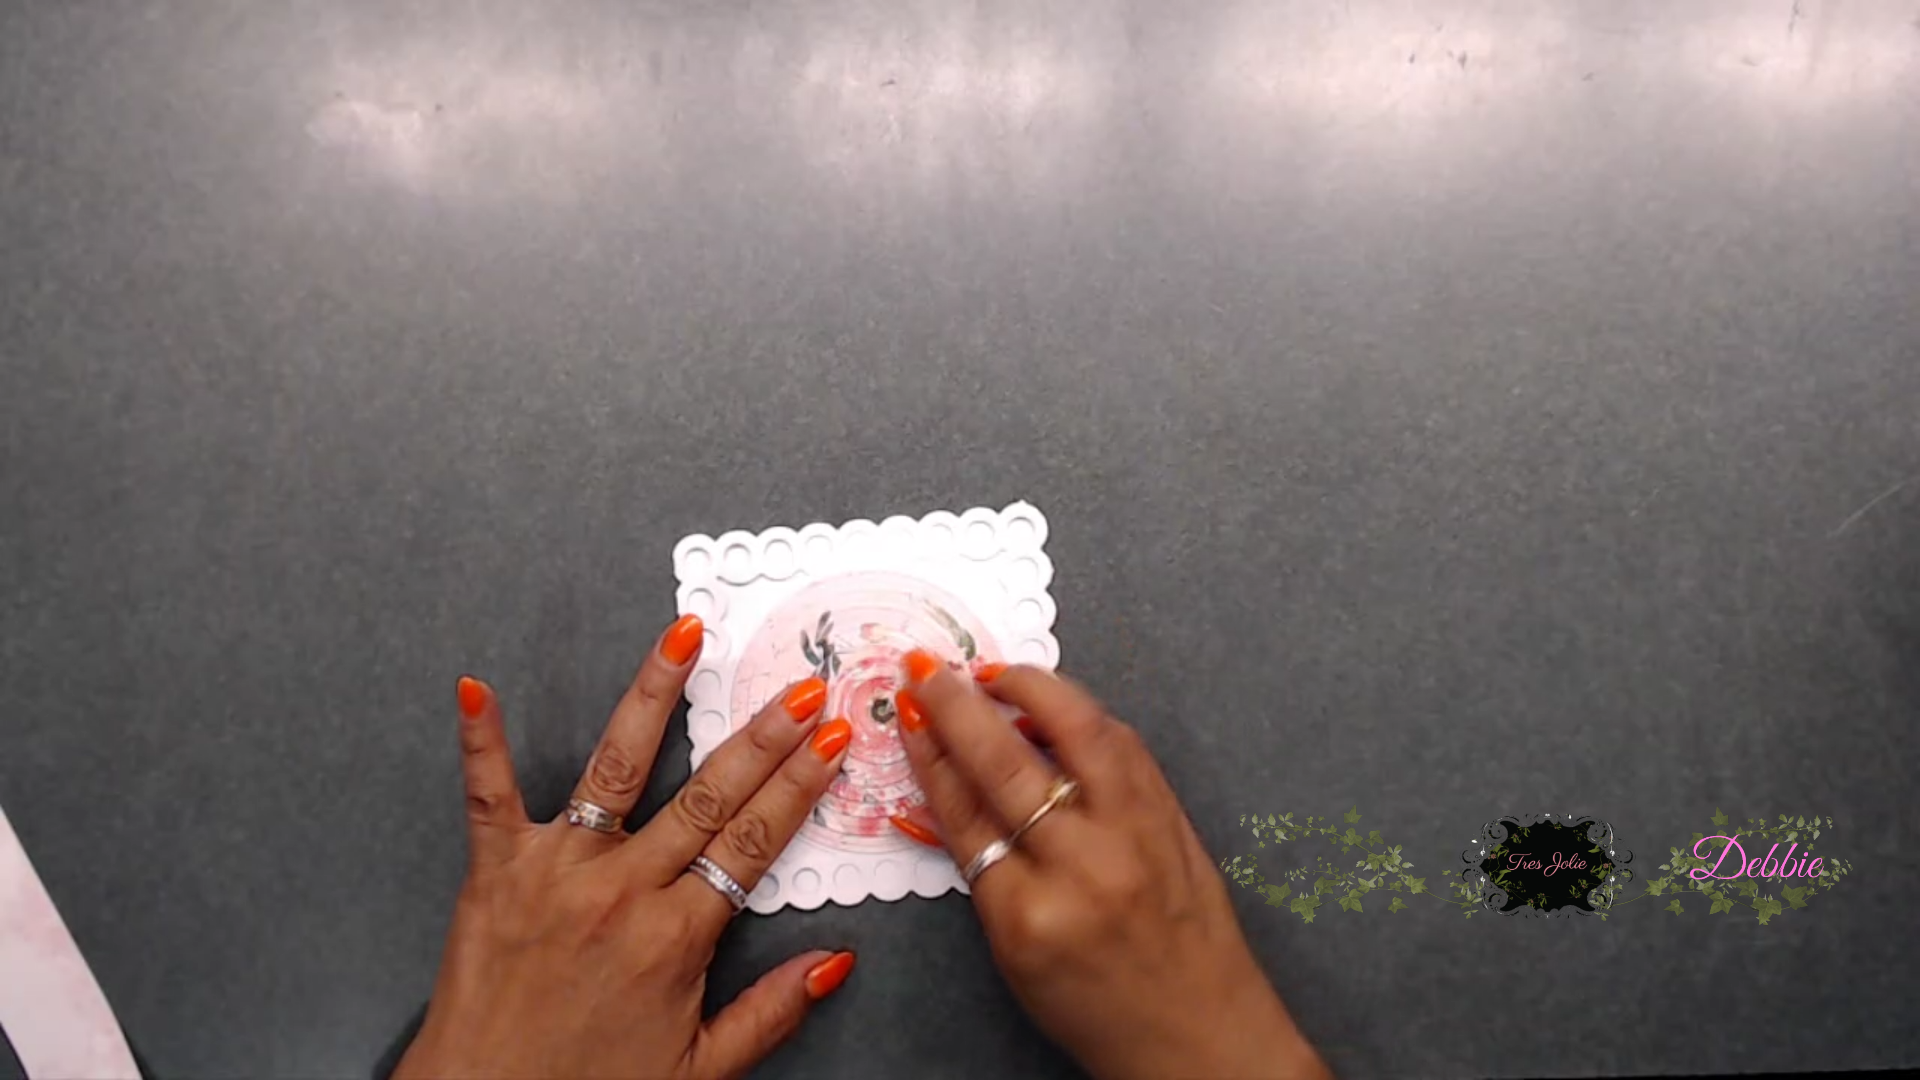
So for Card 3 you will need your nesting circle dies and the card with the circle in the middle of it. Below I have pictures of all the circles I cut out. When cutting out the circles be sure to get the leaves and flowers so they will all fit together nicely to create an image.
Next the pictures below show how I placed each circle piece down to create the flower image. Adhere down once you have the each piece they way you would like it.
Next I placed a piece of pattern paper on the inside for my sentiment.
Once I adhered on my circles to the card I added on a die cut sentiment and some of the butterflies I fussy cut from the paper collection.
Here are all the cards we just finished.
I hope you enjoyed todays card projects using the
September Card Making Kit. I had a great time coming up with ideas on how to use these cards, they are so easy and quick to create. All you need to do is punch them out, cut your pattern paper and decorate so super easy & quick.
Thanks for joining me, until next time
Happy Crafting!!